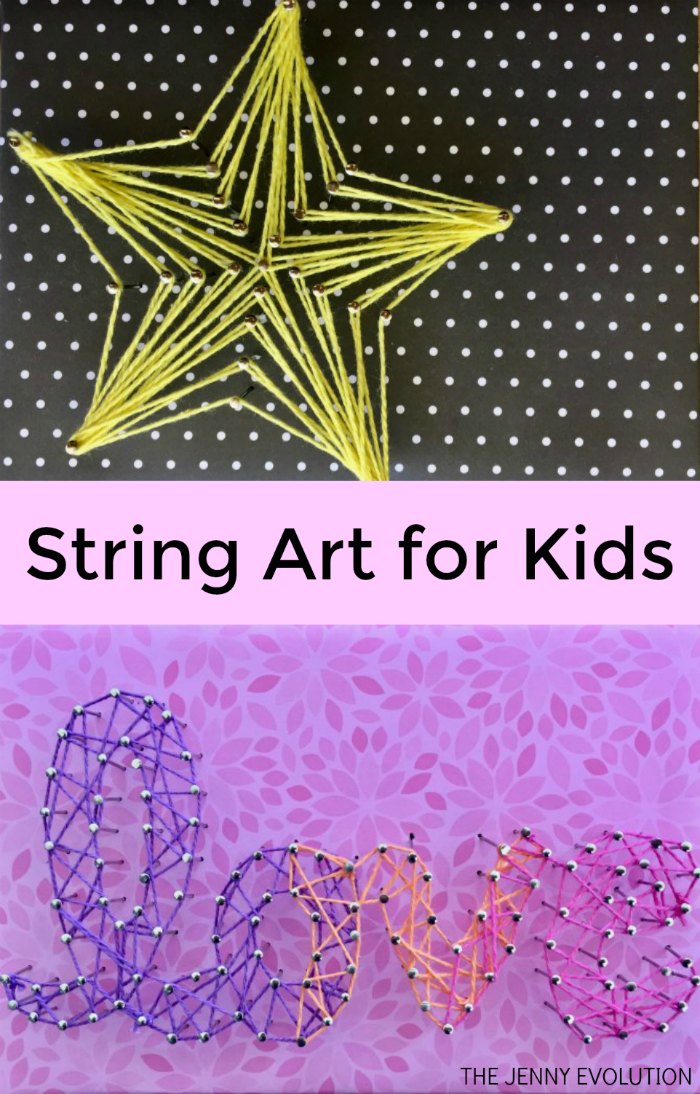
String Art for Kids
String art for kids is a different way for kids to look at art, have fun crafting and work on all of those fine motor skills that ultimately help with handwriting!
There are loads of string art kits out there, and you can certainly do this without one, but we decided to try out the Klutz String Art kit. They’re awesome as a fine motor skills activity.
Be sure to check out our other fun family-friendly kid activities and crafts!
This post contains affiliate links.
String Art for Kids
If you’re the mom of boys, you’ll understand when I say my boys’ idea of arts and crafts is more like a hit and run project.
There is no waiting for me to set supplies up, so I’d better be ready to go go go when they are.
These boys will run up to the project like a whirling dervish and disappear just as quickly.
So you know you have a hit on your hands when the kids refuse to go in the pool until they’ve finished their art project!
Which is why we really loved the Klutz String Art Kit.
Really, I just had to grab some basic art supplies (tape and scissors) and we were ready to go.


While we preferred the kit, you could certainly do this on your own.
Here’s the materials you need:
- Dressmaker pins
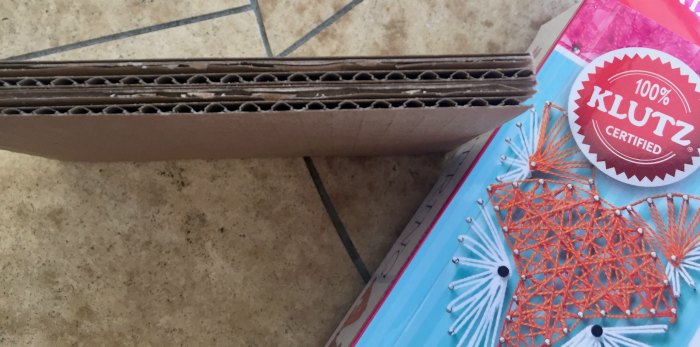
- Thick corrugated cardboard
- Colored string
- Colored paper (for a background)
- Tracing Paper
- Scissors
- Tape
- Pencil

First, we chose which piece of art we wanted to make.
The Klutz String Art Kid made it easy with examples, templates and step by step instructions.
I chose the star and the “love” ones while my youngest son went for the dandelion.
If you’re doing this on your own rather than using a kit, be sure you use cardboard that is thick enough to properly hold a pin.
First, we taped our decorative colored background to the cardboard.
No need to look at some brown background, right?
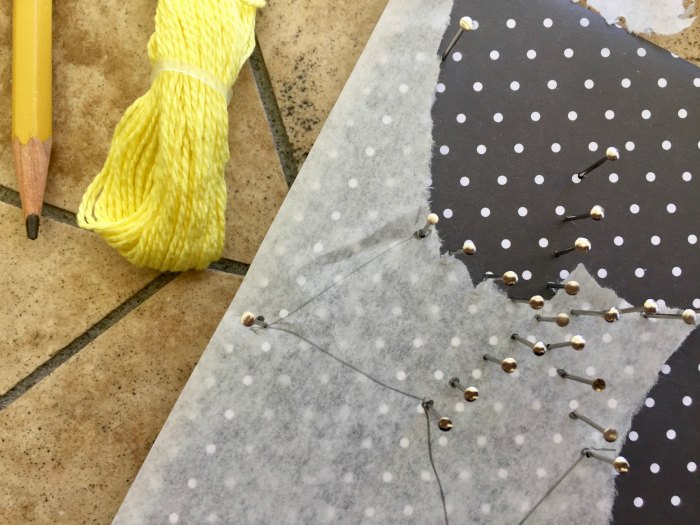
Then we used the tracing paper to mark where each pin should go and placed the completed tracing paper on top of the cardboard.
Once I had all of the pins in, I gently ripped the tracing paper away, leaving just the pins.

I should note the kit had this great pin pusher that saved our fingers and made it easy to make sure all of the pins were at the same height.
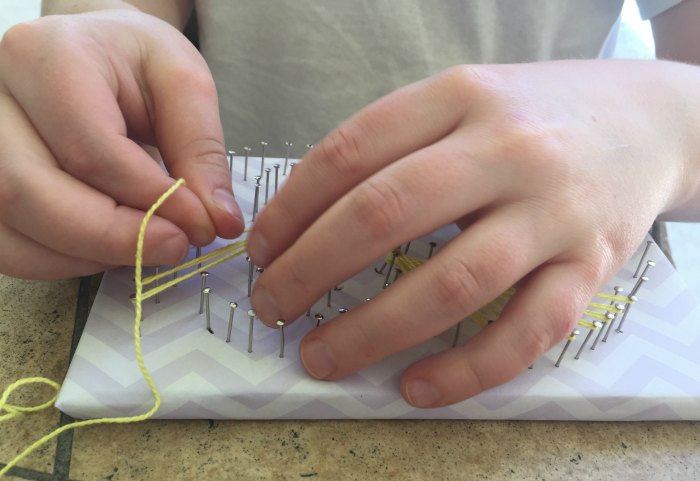
From there, we began to wrap the string from each pin, depending on the design.
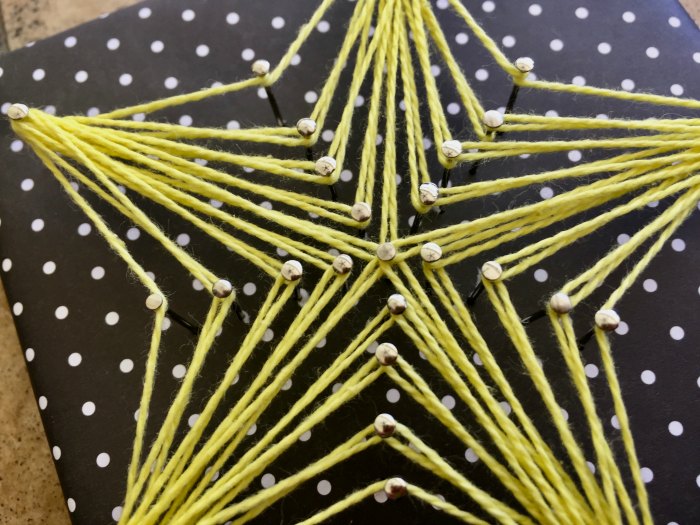
To get the look at the star design, I worked my way around the pins without overlapping.
With the love sign, however, I just jumped from pin to pin to fill in the letters and give it a completed look.
I should say that this was one of the better art projects we have done in a while for fine motor skills!
I mean, by the end, even my fingers were getting tired. It took good concentration and patience. No rushing on this one.
In the end, we had some great looking art pieces to put up in the house!
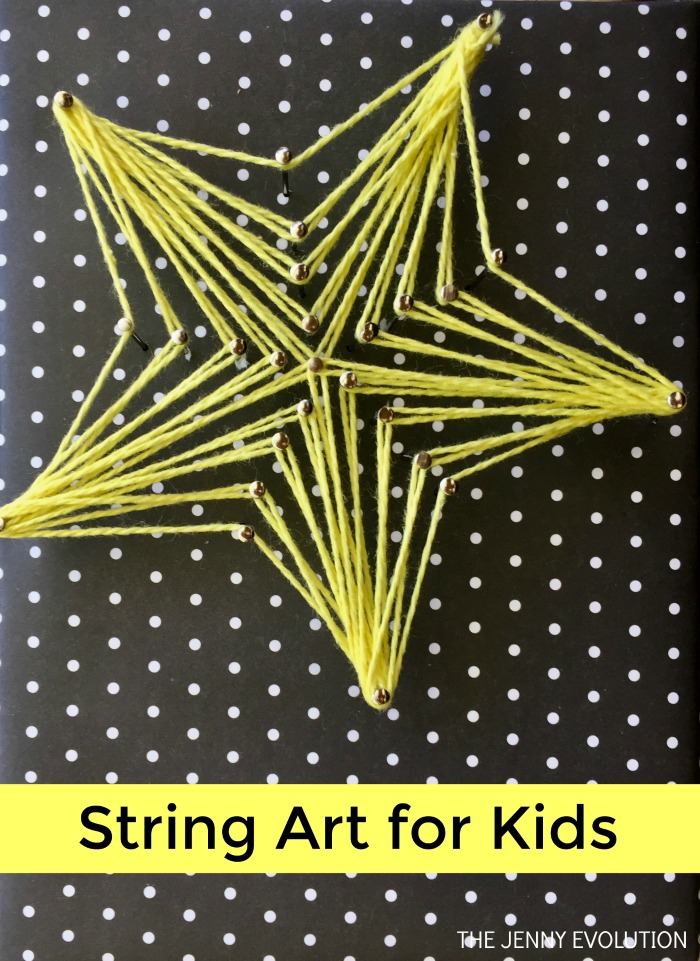
The star design was fast and fun.
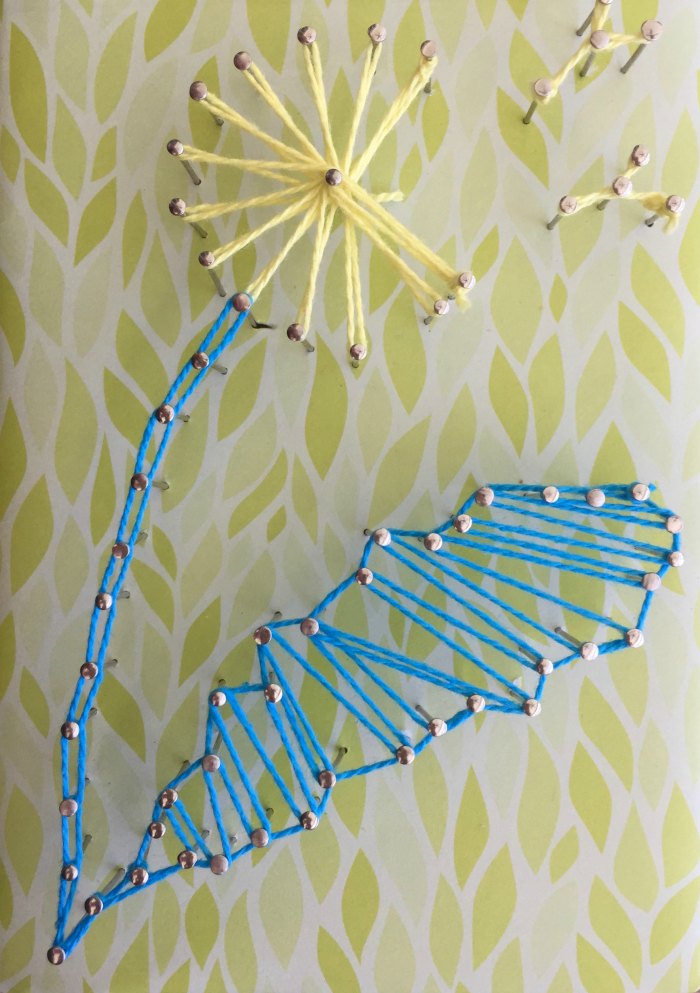
The dandelion design took a little bit more work with all of the pins.
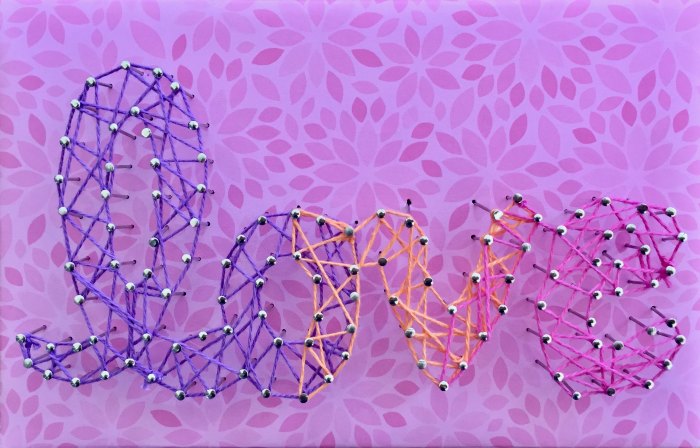
The love design took the longest! I love how the color changes, too.
String art for kids can be really simple and fun.
But honestly, I would do this with a kit.
It just made the process that much easier… requiring a lot less planning on my part.
Printable Fine Motor Skill Practice
Match learning with play with creativity, coordination and fine motor skill building!
- Play Dough Alphabet Fine Motor Activities
- No-Prep Fine Motor and Handwriting Activities
- 0-30 Fine Motor Do-a-Dot Number Mats
- Lego Bricks Alphabet Fine Motor Activities
- 100 Fine Motor Ideas eBook
- Apple ABC Fine Motor Mats
- Color, Cut, and Glue Fine Motor Activities
- Print and Play Fine Motor Activities Pack
- 99 Fine Motor Ideas for Ages 1-5
love it! It looks complicated but I guess once you get the hang of it, it will be easy and interesting..
It really is much easier than you think… my boys loved this activity 🙂
Cool thing! It remains only to take the child’s computer, tablet, phone and persuade the child to play)
LOL. It was actually quite easy to get my boys to switch gears once they saw what they could make 🙂