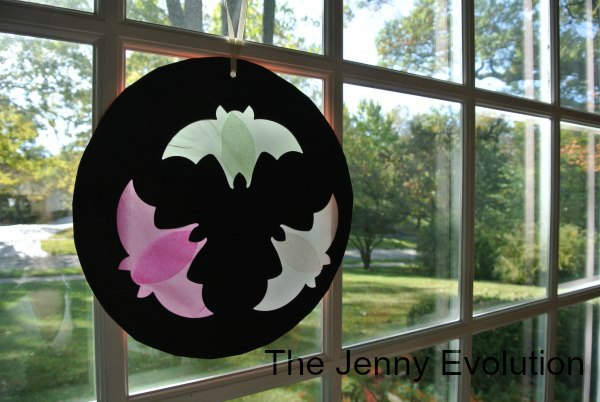
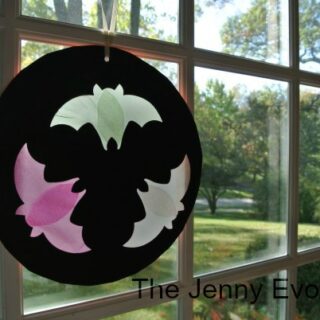
Flying Bats Window Silhouettes – Halloween Crafts for Kids
Get ready to add a touch of spooktacular magic to your windows with Flying Bats Window Silhouettes – a craft project designed just for kids!
Halloween is approaching, and what better way to get into the spirit of this eerie holiday than by creating your own swarm of bats to decorate your windows?
With a few simple materials and a lot of creativity, you’ll transform your living space into a mysterious, moonlit scene that’s perfect for Halloween.
Be sure to check out this spooky collection of Halloween ideas, activities and recipes for the entire family.
This post contains affiliate links.
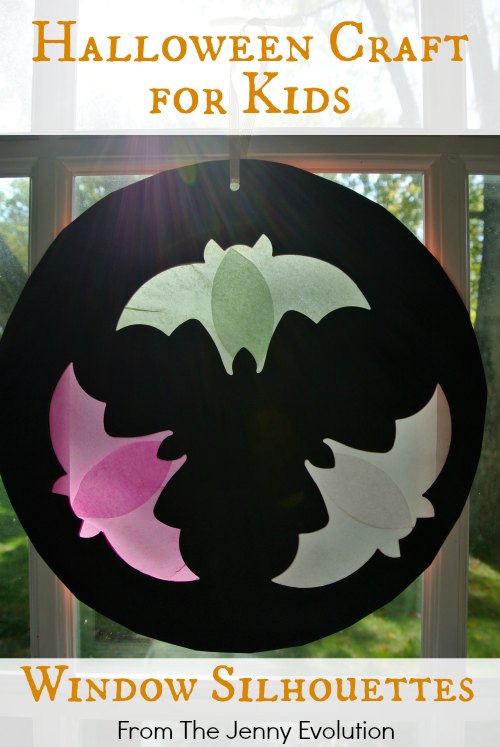
While we’re making flying bat window silhouettes today, this tutorial can easily be changed to make pumpkin window silhouettes or any other fun Halloween symbol.
So come Halloween, it’s time to get out these fascinating creatures and turn them into a fun Halloween crafts for kids.
Adorable Halloween Books
When you’re done playing, snuggle up and enjoy these Halloween Books with your child.
Don’t Push the Button! A Halloween Treat: A Spooky Fun Interactive Book For KidsPete the Cat: Trick or PeteCreepy Carrots! (Creepy Tales!)How to Catch a Monster
Bone SoupThe Spooky Wheels on the BusThe Berenstain Bears Trick or TreatSpooky Pookie (Little Pookie)
Or enjoy these Halloween Board Books with your toddler. It’s the perfect way to tie in the holiday to your Halloween activities!
Flying Bats Window Silhouettes – Halloween Crafts for Kids
Materials Needed:
- Construction Paper
- Tissue Paper
- Scissors
- Glue
- Tape
- Stapler
- Hole Puncher
- Piece of Yarn or Ribbon
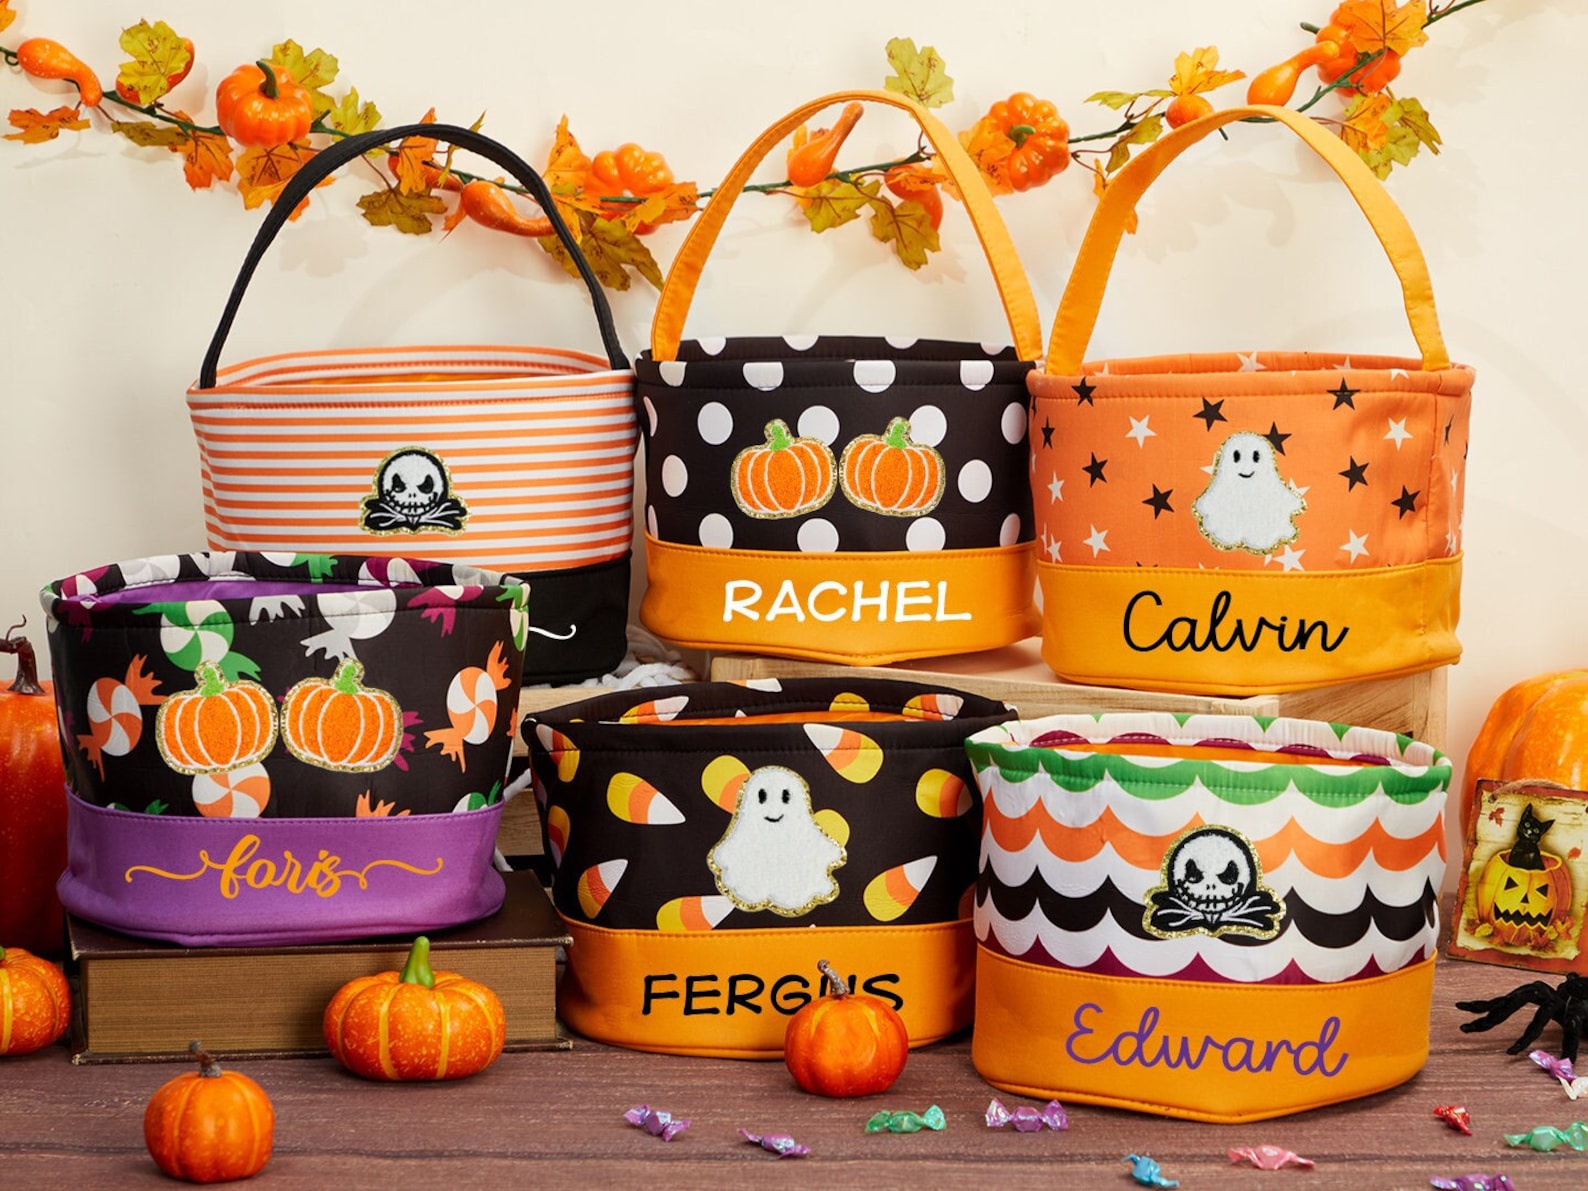
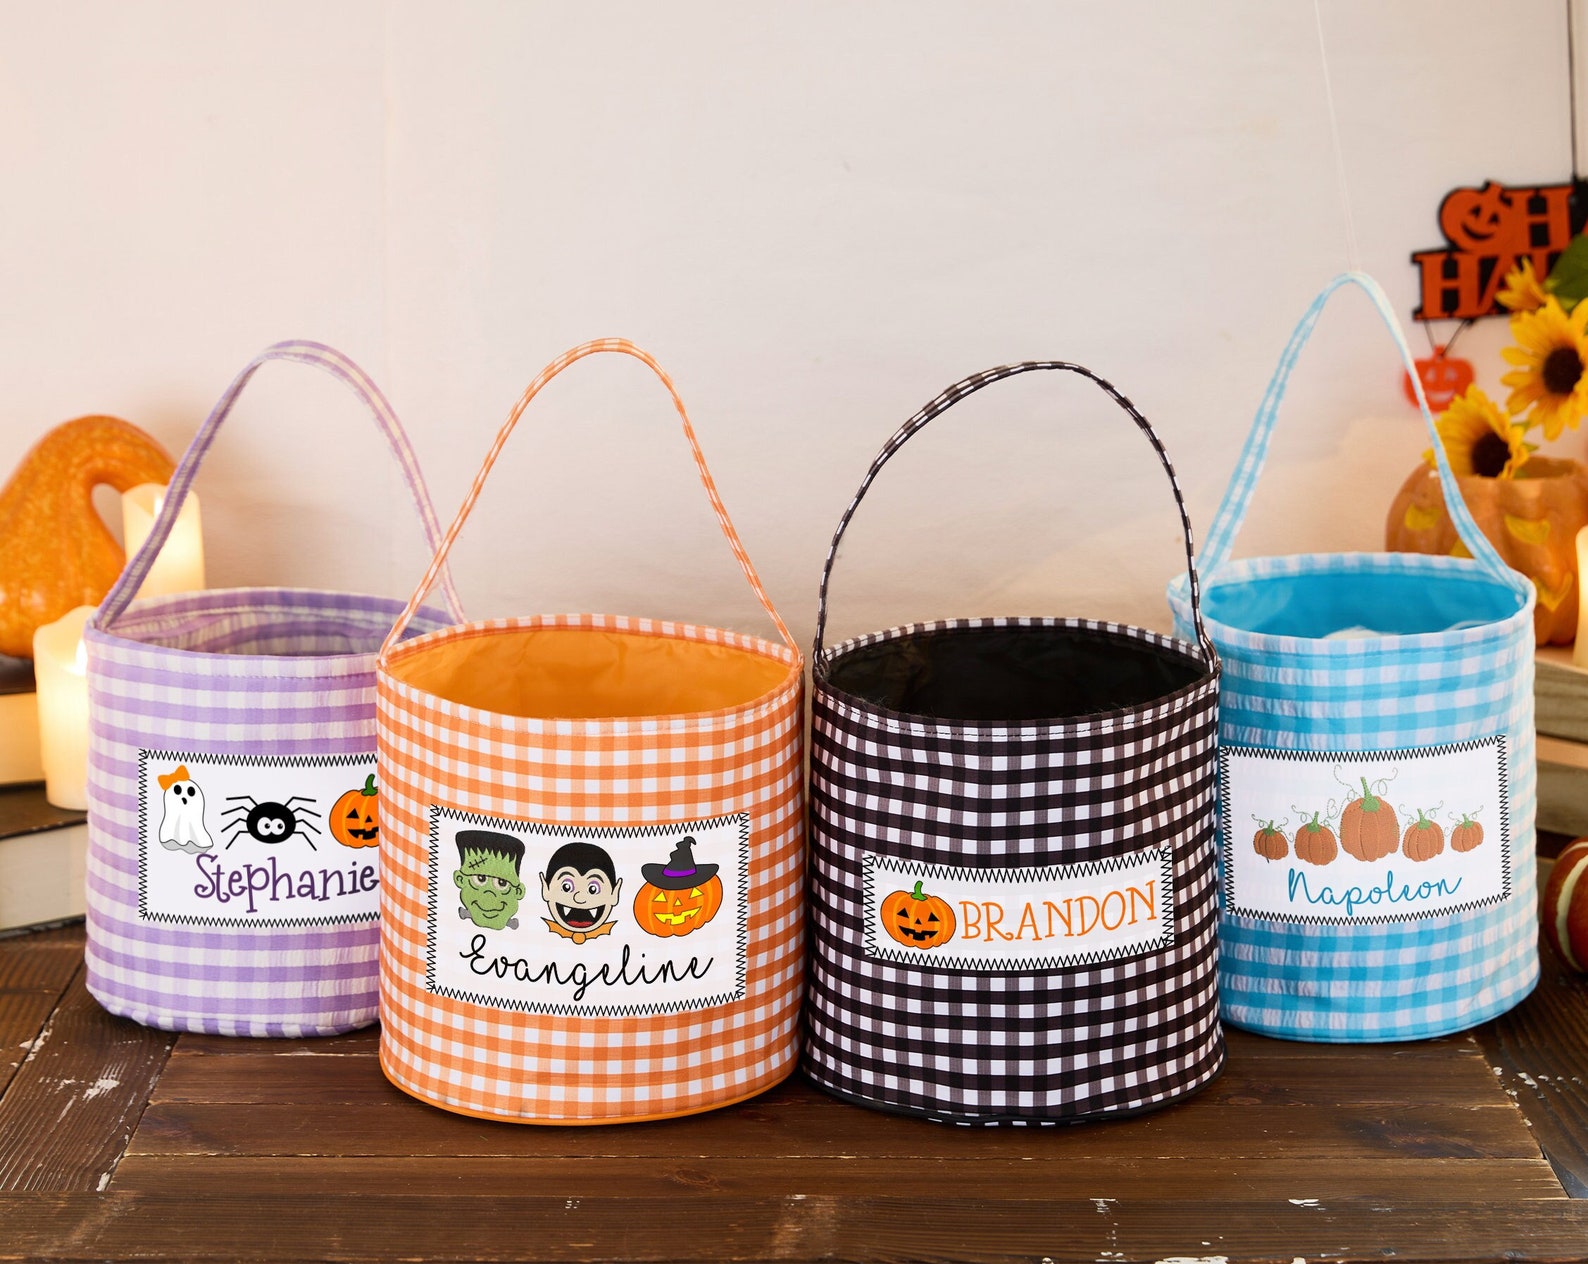
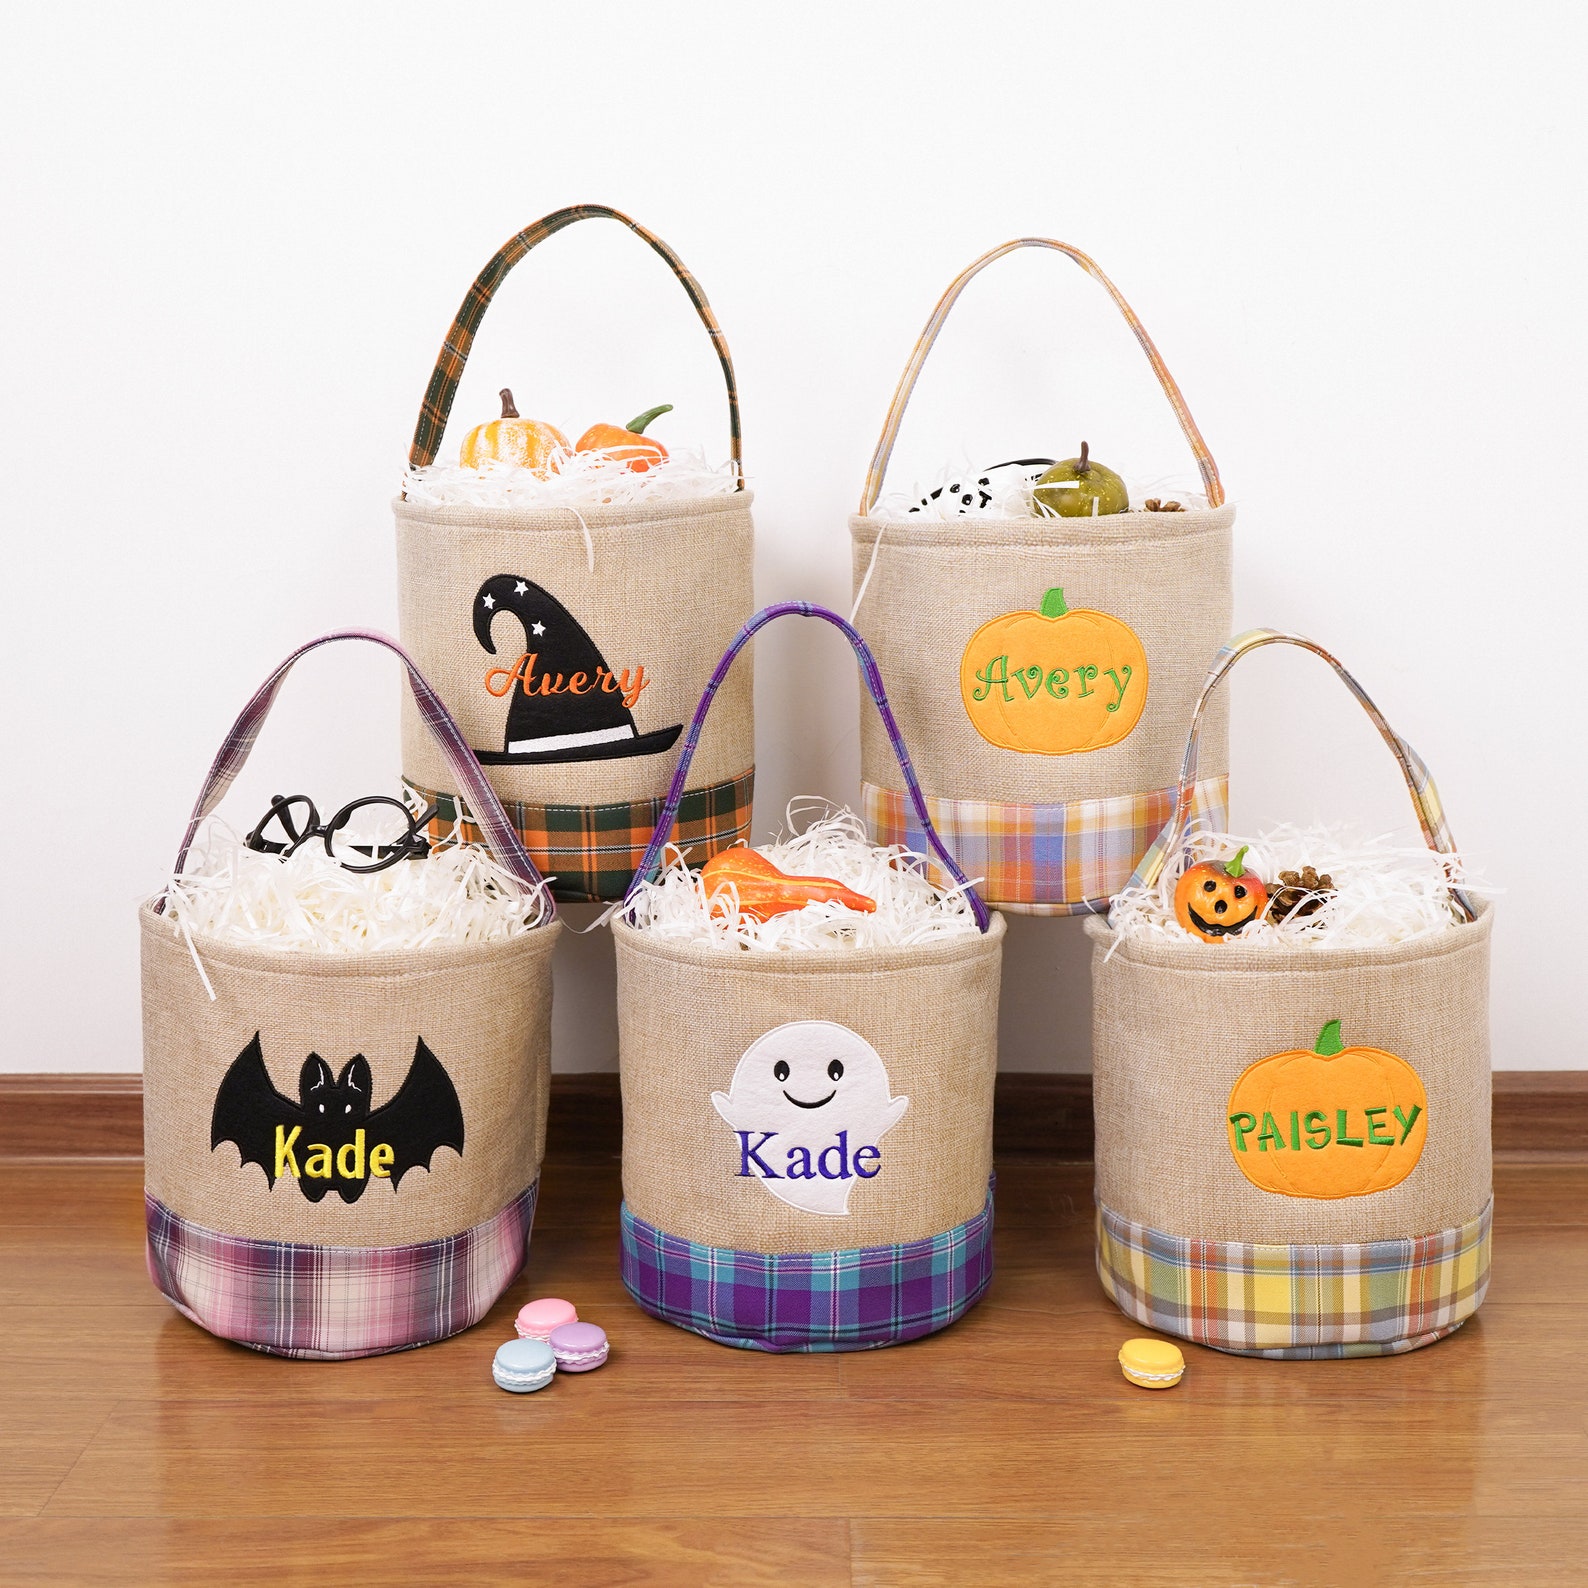
Trick-or-treat bucket Personalized Halloween Tote BagHalloween BasketsPersonalized Halloween Bucket for kids

Directions:
1. Staple two large sheets of construction paper together on one end.
This will help keep them in place.
2. Using a plate as a guide, draw a large circle.
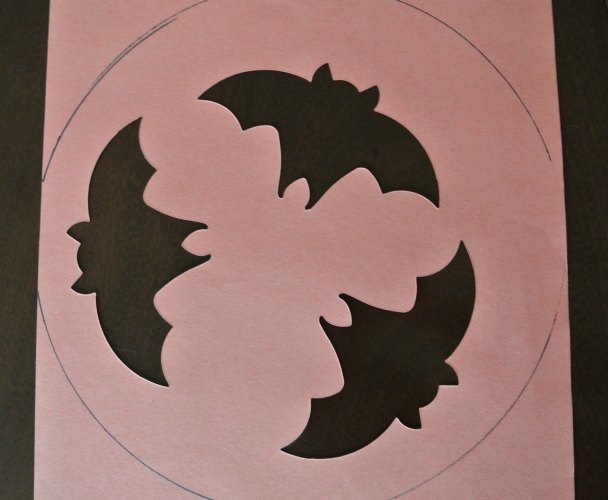
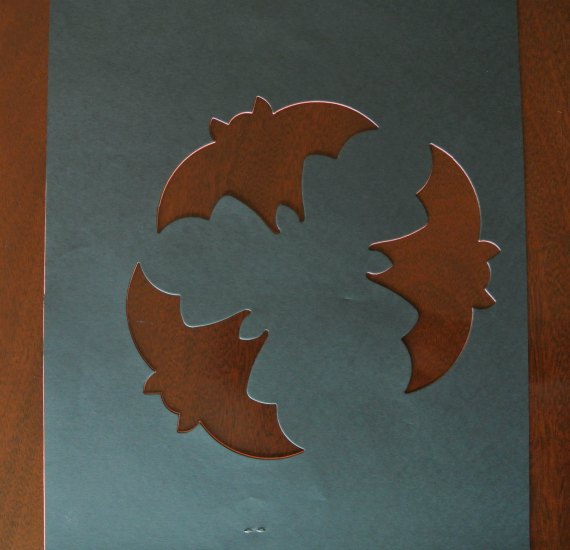
3. Draw out your bat shapes and cut out of the two sheets stapled together.
4. Cut out circles in tissue paper.
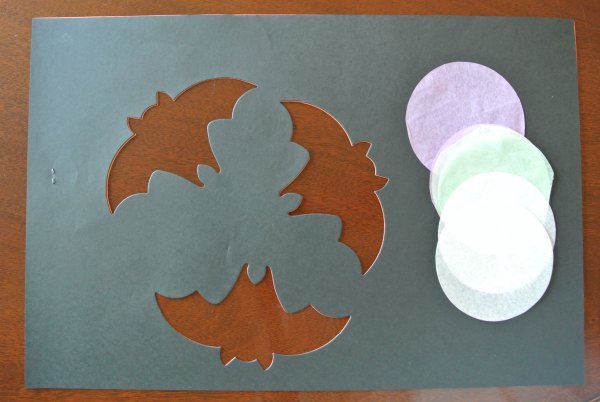
5. Overlap tissue over bat openings on one circle, careful to cover entire opening. Tape edges of tissue to one of the pieces of construction paper to keep tissue in place.
Halloween Kids Water BottleWooden Halloween Tic Tac Toe BoardHalloween Pumpkin Decorating CraftKids personalized custom Shirt
6. Place 2nd large circle on top, matching bat cutouts. Glue the two pieces of construction paper together.
7. Hole punch and insert yarn for hanger.
Easy Printable Halloween Fun!
As the spookiest season of the year approaches, dive into a treasure trove of bewitching printables that will add a dash of magic to your Halloween celebrations and learning.
- Halloween Mystery Puzzles
- Halloween Color by Coding
- Halloween Jokes Cootie Catcher
- Halloween Fine Motor Activities – Flip and Fill Game
- Spider Preschool Lesson Plan
- Room on the Broom Coloring Pages
- Skeleton Preschool Lesson Plan
- My Halloween Handwriting Packet
- Brain Breaks for Halloween
- Halloween Handwriting Activities
- Halloween Multisensory Handwriting Activities
Gather your printers and creative spirits, and let the Halloween fun begin with our selection of printables!
Flying Bats Window Silhouettes
Get ready to add a touch of spooktacular magic to your windows with Flying Bats Window Silhouettes – a craft project designed just for kids!
Materials
- Construction Paper
- Tissue Paper
- Glue
- Tape
- Piece of Yarn or Ribbon
Tools
- Scissors
- Stapler
- Hole Puncher
Instructions
- Staple two large sheets of construction paper together on one end.
- Using a plate as a guide, draw a large circle..
- Draw out your bat shapes and cut out of the two sheets stapled together.
- Cut out circles in tissue paper.
- Overlap tissue over bat openings on one circle, careful to cover entire opening. Tape edges of tissue to one of the pieces of construction paper to keep tissue in place.Place 2nd large circle on top, matching bat cutouts.
- Glue the two pieces of construction paper together.
- Hole punch and insert yarn for hanger.
Recommended Products
As an Amazon Associate and member of other affiliate programs, I earn from qualifying purchases.


What a great craft! I am hoping my little one finds interest in crafts soon!! Soooo many cute ideas out there. Thanks for the share!
It can be tough to find age appropriate crafts… but your kiddos will get there soon.
I love it! And I think this is one craft I could actually pull off!
This craft is so cute, great idea!
What a fun craft that is perfect for Fall! I love decorating our windows with silhouette art like this!
Have fun and let me know if you try it out, Crystal 😀
Very nice quick & easy craft, why even wee ones can put the tissue circles over the pre-cut bats! Many thanks for linking up at After School Linky Party!
Looks like something my kids will enjoy! Love the pre-cut bats..